If you’re providing remote instruction this year, you may have seem images where educators create a personalized virtual classroom that they share with students during online meetings. These classroom images are easy to make and they help students feel more connected even when they are learning from home. In this tutorial, we’ll provide step-by-step directions for how to create a Bitmoji Classroom and we’ll use a variety of posters and books focused on social emotional learning.
Please make a copy of our Google Slides to use as a starting template and also use the free SEL images to decorate your walls.
Note: We also have included a slide with the five logos for our online games. If you have students using our games, using a clickable logo will make it much easier for them to log in.
What is Bitmoji?
Bitmoji is a free app for your mobile device that let’s you create an avatar that looks a lot like you. You can create personalized images of your avatar using the library of activites and poses within the app.
- Step one: Download and install the Bitmoji app by going to the Bitmoji website. Scroll down and click on either “Download on the App Store” for Apple devices or “Get it on Google Play” for Android.
- Step two: After creating your avatar and images for you classroom, you will need the Google Chrome extension for Bitmoji in order to download your images.
- Step three: Get creative!
You can also join a Facebook Group to share ideas and images. This one, Bitmoji Craze for Educators, is very active and has nearly 500,000 members.
Creating a Bitmoji Classroom in Google Slides
To help you get started, please make a copy of our Virtual Classroom SEL Google Slides by clicking the link. And even if you have already created your own classroom, you may want to make a copy of our slides so that you can reuse our artwork.
Note: When you create your virutual classroom, you will want to find images that are free to reuse. FAVPNG is a free image site and the Facebook Group mentioned above is also a great resource. In addition, you will typically use .png files with transparent backgrounds so that the image you are pasting on top doesn’t look like it is inside of box. However, if you find a non-png image you want to use, you can use this Remove Image Background site to convert your image.
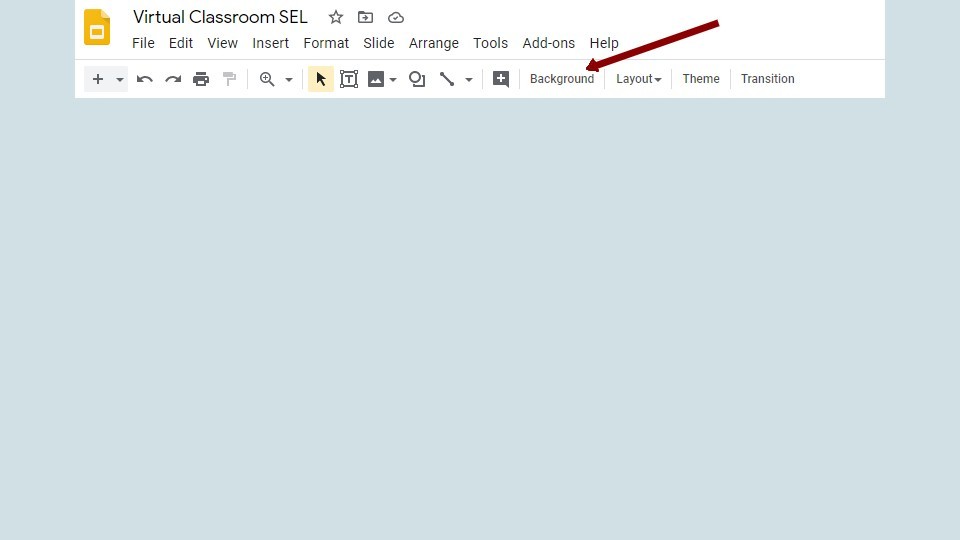
Step One: Pick a background color for your room by clicking on the Background menu in Google Slides. This will be the color of your wall.
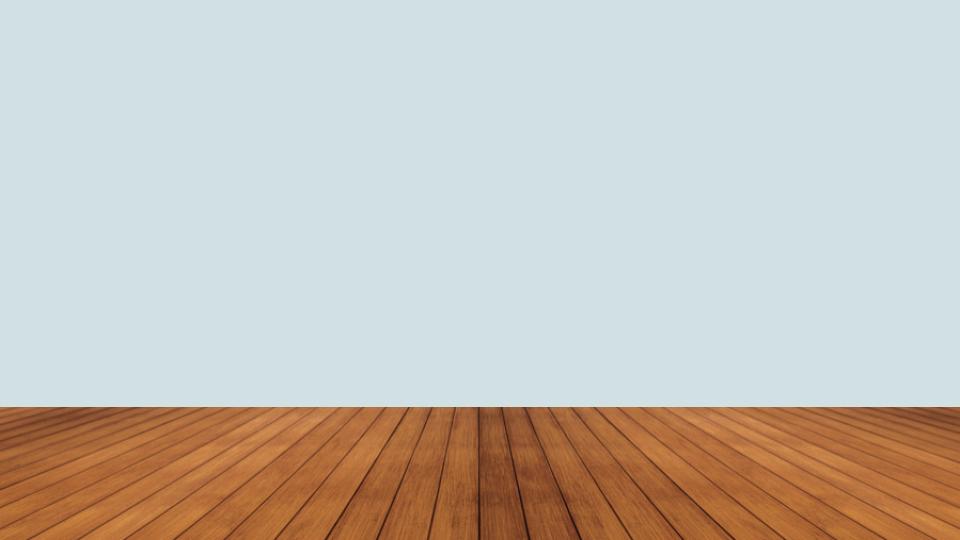
Step Two: Next, add an image of a floor. You will likely need to crop and/or adjust the image, but make sure you leave plenty of wall space for the next steps.
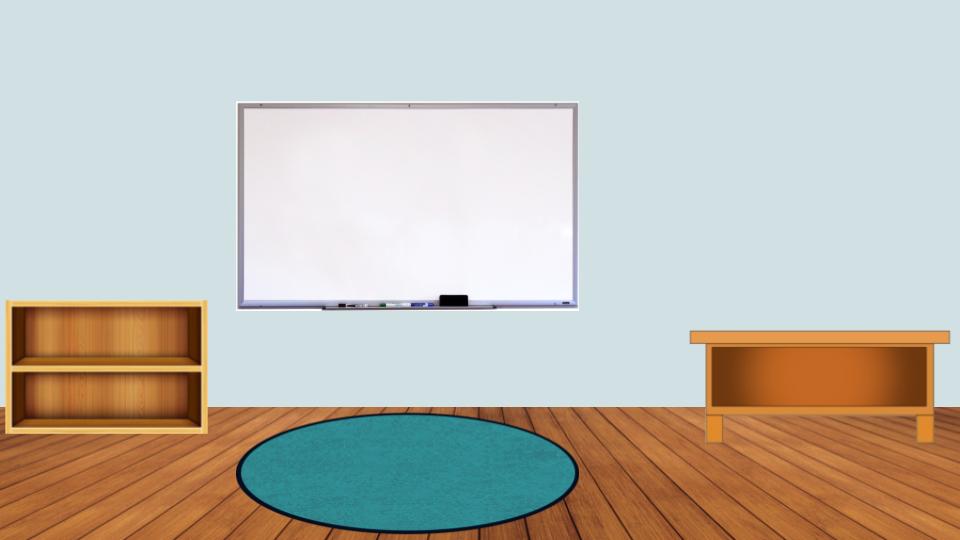
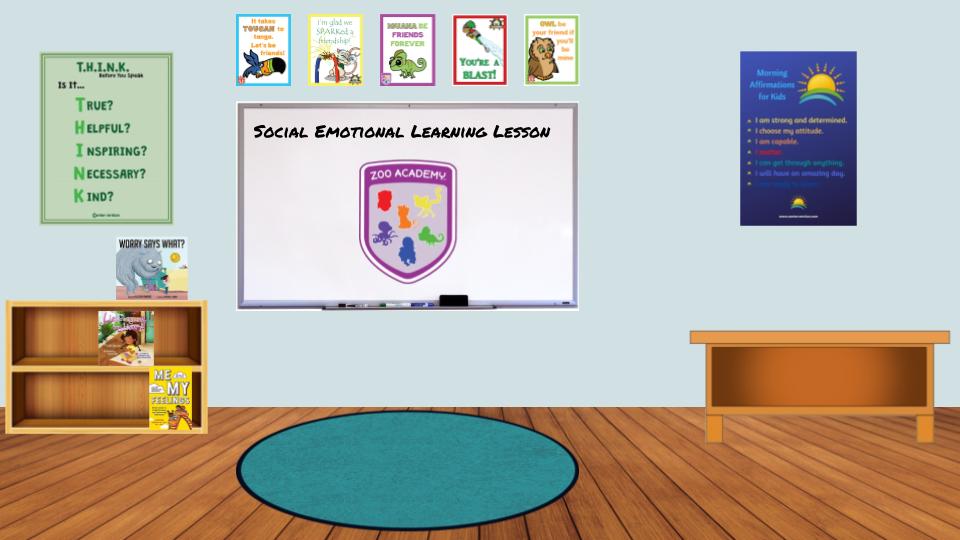
Step Three: Add furniture and accessories to your room. You may want to create a front of classroom view like the one below, or a space that more closely resembles where you would interact with your students.
Step Four: Next, personalize your space with decorations and images. Note: you may want to build multiple different backgrounds depending on the lesson you are teaching, so simply duplicate the prior Google Slide before adding your decorations. Also, when viewing a copy of our slides (not the image below), you will notice that some of the books and posters have clickable links. Adding clickable links on images is a great way to make it easier for your students to find the resources you want them to use.
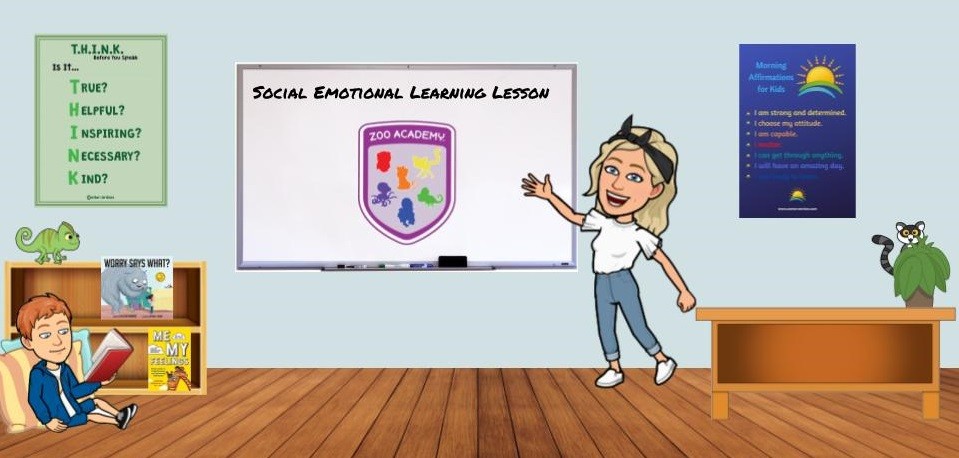
Step Five: Finally, add your Bitmoji and other characters to your slide.
So that’s how to create a Bitmoji classroom, but if you have problems or need help, you can always ask for assistance on our Centervention Facebook Group for Social Emotional Learning.